
- HVAC
- Air conditioner
E1
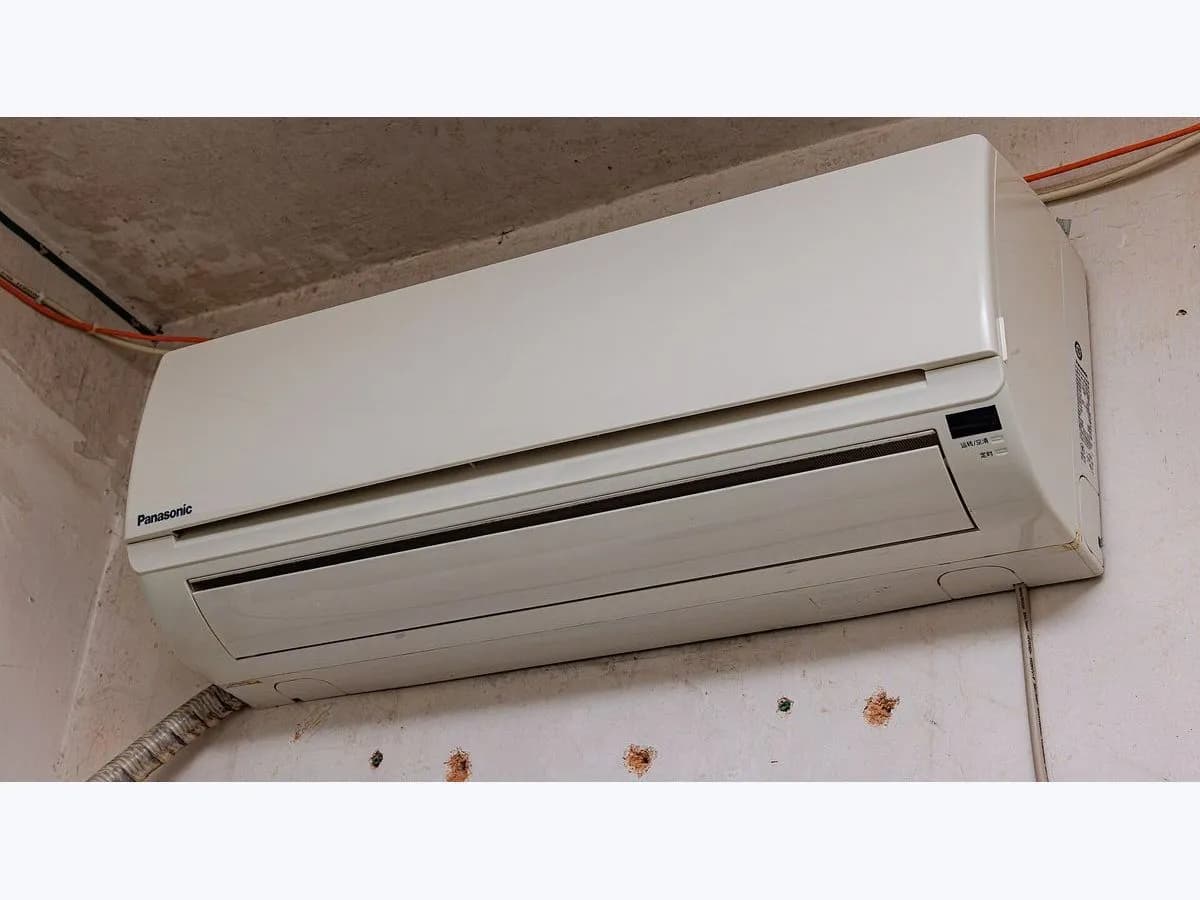
Carrier E1 on split air conditioner: unit communication error
Risk level
Medium
Proceed carefully and stop if the check is unclear.
Urgency
Medium
Quick answer
Error code E1 on a Carrier split air conditioner means a communication failure between the indoor and outdoor units (Operation lamp flashing 2 times with Timer lamp off). Cut power for 3 minutes to reset E1; if it returns, call an authorized technician.
Safety first
Stop and check this first
- Never open the electrical control box or touch terminals L1, L2 or S yourself: the interconnection harness carries high-voltage AC power from the outdoor unit and requires locking out the main disconnect.
- If a fuse blows or the circuit breaker trips alongside E1, the Carrier user manual warns you to shut off power immediately and never attempt your own electrical repair.
Safe checks you can perform
- Confirm code E1 and the 2-flash pattern on the indoor panel
- Disconnect electrical power for 3 minutes to reset E1
- Check the breaker status and nearby interference sources
Leave these tasks to a qualified professional
- Do not attempt this professional task: Measure DC voltage across L2 and S and test reactor resistance
- Do not attempt this professional task: Inspect indoor-to-outdoor terminal sequence and EMF shielding for E1
What a technician must be able to justify
Technician visit
These are the steps they must carry out and show you. Tick them as they work: if steps are skipped, do not accept a part swap.
These are not instructions for opening or handling the equipment yourself. They are the checks that should support a technical conclusion.
Measure DC voltage across L2 and S and test reactor resistance
What they doFollowing Figure 17 and Figure 18 of the Carrier 40MHH service manual, the technician places the red multimeter probe on outdoor port L2 and the black probe on port S: normal operation alternates between -50 V and 50 V DC, positive-only swings point to an outdoor fault, and a fixed voltage points to an indoor fault. The technician also checks reactor resistance, which should read around 0 ohms.
They must show youthe live DC voltage swing measured between ports L2 and S and the ohm reading across the reactor.
In writingthe L2-to-S voltage range, the reactor resistance in ohms and which component was replaced.
Inspect indoor-to-outdoor terminal sequence and EMF shielding for E1
What they doAfter locking out the main disconnect switch, the technician verifies that the 4-wire 14/3 power and communication cable matches terminal numbers on both units without crossing power leads; in high-EMF sites, the 40MHH manual specifies replacing L2/N and S with 14/2 stranded shielded wire grounded at the outdoor unit only.
They must show youmatching wire colors and terminal numbers on both terminal blocks and secure clamping on every screw.
In writingthe condition of the interconnection cable and any terminal or shielding corrections made.
Before accepting a part or repair
Nothing has been shown yet. Do not accept a part swap based on the code alone.
Follow these steps
Note: Follow the documented order. An error code identifies the affected system, but it does not prove by itself which part has failed.
Confirm code E1 and the 2-flash pattern on the indoor panel
- Who:
- you, looking at the indoor unit display panel.
- How:
- check whether the display reads E1 or the Operation lamp flashes 2 times per cycle while the Timer lamp remains off, as listed in Table 7 of the Carrier 40MHH manual.
- Result that matters:
- telling communication error E1 (Timer lamp off) apart from voltage protection P1 (Timer lamp flashing).
- If the Operation lamp flashes 2 times with the Timer lamp off or E1 is displayed:
- proceed to the 3-minute power reset.
- If the Timer lamp flashes along with the 2 Operation lamp flashes:
- the unit is reporting P1 voltage protection rather than E1.
- Evidence to keep:
- a short video of the indoor display showing E1 or the Operation and Timer light pattern.
Evidence: Carrier Argentina: Manual de Usuario Equipo Baja Silueta Inverter 53NQHV036-072 (53NQHV036-072-00MU) · Carrier: 40MHH High Wall Ductless System Sizes 09 to 24 Service Manual (SG-40MHH-03)
Disconnect electrical power for 3 minutes to reset E1
- Who:
- you, at the dedicated breaker or disconnect switch.
- How:
- turn off the air conditioner, switch off the main electrical supply, wait 3 minutes as instructed in the Carrier 53NQHV036-072 manual, and restore power.
- Result that matters:
- seeing whether the indoor and outdoor controllers re-establish communication after a full reset.
- If the system starts and cools or heats without showing E1:
- it was a transient communication loss; monitor future runs.
- If the Operation light keeps flashing rapidly at 5 Hz or E1 returns within a few minutes:
- shut power off and book service.
- Evidence to keep:
- a note of when you performed the 3-minute reset and how quickly E1 reappeared.
Evidence: Carrier Argentina: Manual de Usuario Equipo Baja Silueta Inverter 53NQHV036-072 (53NQHV036-072-00MU) · Carrier Argentina: Manual de Instalación, Usuario y Control Remoto Split de Pared 53HCV (53HCV-01M)
Check the breaker status and nearby interference sources
- Who:
- you, without removing wiring covers or touching terminals.
- How:
- verify at the breaker panel that no fuse or circuit breaker has tripped, and check for nearby wireless transmitters that the 53NQHV036-072 manual notes can cause abnormal operation.
- Result that matters:
- ruling out a tripped supply or obvious external interference before calling a technician for E1.
- If a fuse blows or the breaker trips repeatedly:
- leave the breaker off and contact an authorized service technician.
- If the breaker holds steady but E1 remains on screen:
- write down the model and serial numbers from the side rating plate.
- Evidence to keep:
- a photo of the indoor and outdoor rating plates showing the exact model numbers.
Evidence: Carrier Argentina: Manual de Usuario Equipo Baja Silueta Inverter 53NQHV036-072 (53NQHV036-072-00MU) · Carrier Argentina: Manual de Instalación, Usuario y Control Remoto Split de Pared 53HCV (53HCV-01M)
Still not solved
If the error persists, stop here. See what the technician must do and show you.
Where this code applies
A code is meaningful only inside the right product and version context.
Primary scope
- System
- HVAC
- Brand
- Carrier
- Product type
- Air conditioner
Known code variants
- aire acondicionado Carrier E1
- ALFA Crea E1 error
- ALFA Duo presser foot lifter position error
- ALFA E1
- Aviso E1
- Bosch E1
- cabezal tado E1
- calentador Junkers E1
- Carrier AC E1
- Carrier E1
- Carrier E1 error
- Carrier mini split E1
- Carrier XPower E1
- Cecofry E1 code
- Cecotec ForceClima E1
- Cecotec portable AC E1 code
- Circuito abierto en monitor de temperatura
- Code E1
- Código de error E1
- Código E1
- codigo E1 aire acondicionado Cecotec
- Código E1 Cecofry
- Cosori E1
- Culligan E1
- Culligan ERR 1
- Culligan softener E1
- descalcificador Culligan E1
- Display E1
- Display shows Error Code E1
- E 1
- E-1
- E01
- E1
- E1 cestillo izquierdo
- E1 common wire required
- E1 fan error
- E1 left basket sensor
- E1 on display
- E1 sensor de temperatura
- E1 temperature sensor
- E2
- E3
- E4
- Electrolux ELAC309W E1
- Electrolux washer E1
- Electrolux washing machine error E1
- Elevador de prensatelas posición incorrecta
- EMPTY GRATE AND PRESS ON-OFF
- ERR 1
- ERR1
- Error 1 Culligan
- Error Code E1
- Error E1
- error E1 ALFA Crea
- error E1 calefón Rheem
- error E1 calentador Rheem
- error E1 Carrier
- error E1 lavarropas Electrolux
- error E1 lavavajillas Midea
- error E1 lavavajillas Smeg
- error E1 lavavajillas Teka
- error E1 purificador Philips
- error E1 sensor temperatura tubo Cecotec
- error E1 tado calibración
- falla de encendido E1 Rheem
- falla E1 lavadora Electrolux
- Fallo del motor E1
- Fallo del sistema de bloqueo
- ForceClima 12850 Style E1
- ForceClima 7900 SmartTouch E1
- ForceClima 9900 SmartTouch E1
- ForceClima E1 tube condenser sensor fault
- Hydronext 5600S E1
- Hydronext 5700S E1
- Junkers E1
- Junkers water heater E1
- La pantalla muestra el código de error E1
- lavavajillas Midea E1
- lavavajillas Smeg aguastop E1
- Levoit E1 motor malfunction
- Lock system fault
- MDWEB1004LS E1
- MFD45S200 E1
- Midea dishwasher E1
- Midea dishwasher error E1
- Midea E1
- minisplit Carrier E1
- Nest E1
- Nest E1 C wire
- Nest E1 cable C
- Nest thermostat E1
- Open circuit in temperature monitor
- Philips AC3033 E1
- Philips AC3036 E1
- Philips AC3039 E1
- Philips air purifier E1
- Philips E1
- Philips Series 3000i E1 motor malfunction
- Posición del prensatelas posición incorrecta
- Presser foot lifter wrong position
- purificador Philips E1
- Rheem E1
- Rheem gas water heater E1
- Rheem ignition failure E1
- Rheem R7-14L E1
- Smeg Aquastop failure
- Smeg avería aguastop
- Smeg dishwasher anti-flooding E1
- Smeg dishwasher E1
- Smeg dishwasher error E1
- Smeg lavavajillas E1
- Smeg LVFABCR3 E1
- tado Basic dos rayas llave inglesa
- tado Basic two dashes spanner
- tado E1
- tado E1 calibration error
- tado radiator thermostat E1
- tado Smart Radiator Thermostat E1
- tado° E1
- Teka dishwasher E1
- Teka dishwasher error E1
- Teka DW8 E1
- Teka lavavajillas E1
- Teka LP8 E1
- termostato Nest E1
- Warning E1
What it means
In Table 8-1 of the Carrier 53NQHV036-072 user manual and Table 7 of the Carrier 40MHH High Wall Ductless service manual, code E1 signals an indoor/outdoor unit communication error, shown when the Operation lamp flashes 2 times and the Timer lamp stays off. The 40MHH service manual explains that E1 triggers when the indoor unit receives no feedback from the outdoor unit for 110 seconds four times continuously. Other Carrier models may differ, and the E1 code alone never proves that a circuit board is defective.
Warnings and stop conditions
- Higheditorial warning
Never open the electrical control box or touch terminals L1, L2 or S yourself: the interconnection harness carries high-voltage AC power from the outdoor unit and requires locking out the main disconnect.
Evidence: Carrier Argentina: Manual de Instalación, Usuario y Control Remoto Split de Pared 53HCV (53HCV-01M) · Carrier: 40MHH High Wall Ductless System Sizes 09 to 24 Service Manual (SG-40MHH-03)
- Mediumeditorial warning
If a fuse blows or the circuit breaker trips alongside E1, the Carrier user manual warns you to shut off power immediately and never attempt your own electrical repair.
Evidence: Carrier Argentina: Manual de Usuario Equipo Baja Silueta Inverter 53NQHV036-072 (53NQHV036-072-00MU) · Carrier Argentina: Manual de Instalación, Usuario y Control Remoto Split de Pared 53HCV (53HCV-01M)
Symptoms and causes
Probable causes · in order
- Interconnection wiring mistake or loose terminal screwsCommon
The Carrier 53HCV and 40MHH manuals list mismatched terminal wiring between indoor and outdoor blocks or screws loosened by vibration as the primary cause of E1.
Evidence: Carrier Argentina: Manual de Instalación, Usuario y Control Remoto Split de Pared 53HCV (53HCV-01M) · Carrier: 40MHH High Wall Ductless System Sizes 09 to 24 Service Manual (SG-40MHH-03)
- Electromagnetic interference on the communication linePossible
Carrier's 40MHH service manual notes that installing the ductless system in a high electromagnetic field (EMF) area can disrupt signals on the S wire between units.
Evidence: Carrier: 40MHH High Wall Ductless System Sizes 09 to 24 Service Manual (SG-40MHH-03)
- Temporary lockup after a power outage or voltage dipPossible
The Carrier 53NQHV036-072 manual states that power disturbances can halt operation and instructs you to disconnect power for 3 minutes to see if E1 clears.
Evidence: Carrier Argentina: Manual de Usuario Equipo Baja Silueta Inverter 53NQHV036-072 (53NQHV036-072-00MU)
- Faulty indoor PCB, outdoor PCB or open reactorLess common
When the 4-wire power and communication harness is intact, the Carrier 40MHH service manual points to a faulty indoor PCB, outdoor PCB or malfunctioning reactor.
Evidence: Carrier: 40MHH High Wall Ductless System Sizes 09 to 24 Service Manual (SG-40MHH-03)
Virtual technician
Does E1 still appear after these checks?
Answer a few questions to narrow down the likely cause and the safest next action. Guidance only - it never replaces a professional.
Sources and technical references
- 1
Carrier Argentina: Manual de Usuario Equipo Baja Silueta Inverter 53NQHV036-072 (53NQHV036-072-00MU)
Carrier Argentina · 2018 · official_doc
- 2
Carrier Argentina: Manual de Instalación, Usuario y Control Remoto Split de Pared 53HCV (53HCV-01M)
Carrier Argentina · 2018 · official_doc
- 3
Carrier: 40MHH High Wall Ductless System Sizes 09 to 24 Service Manual (SG-40MHH-03)
Carrier · 2021 · official_doc
Was this entry useful?